How to Mend A Legging
Mending engages us with our clothing. You will learn so much about quality, fiber, drape, structure, and sustainability by patching your clothes!
It's okay to do it imperfectly. Visible mending lends itself to this, so have fun with it. Your mend will add some character and a story to your clothing, and you will be more qualified for the next mend if you do this one. Just get started.
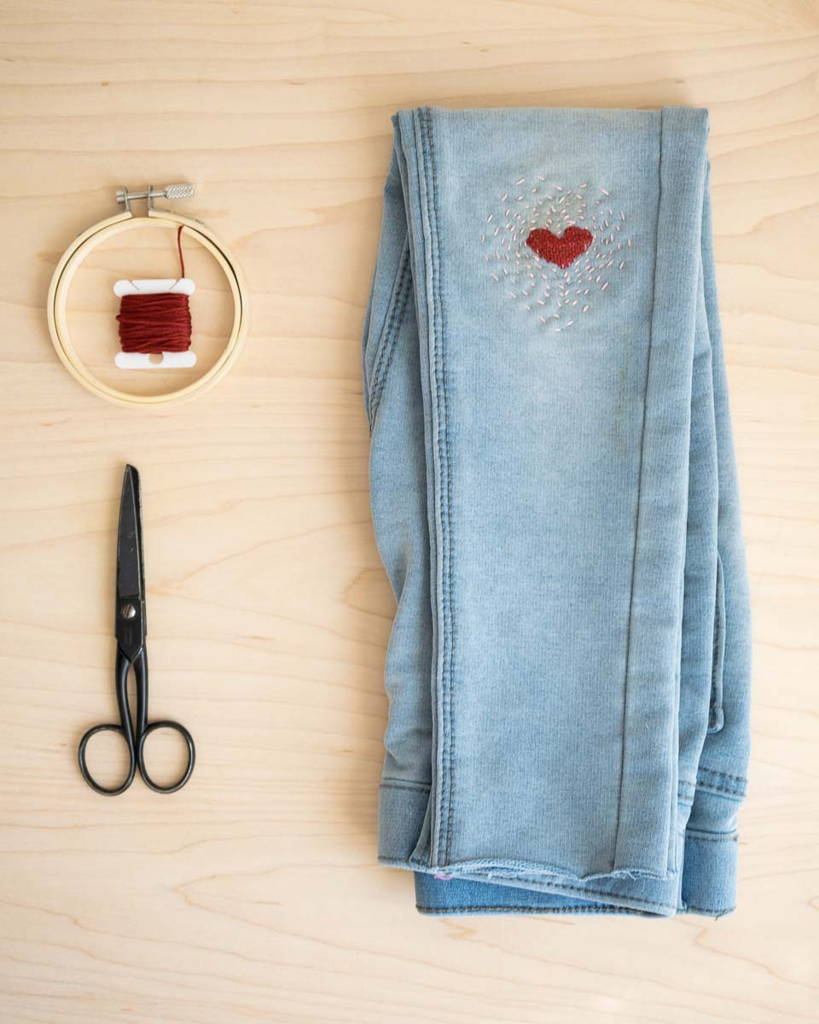
1. Gather your materials
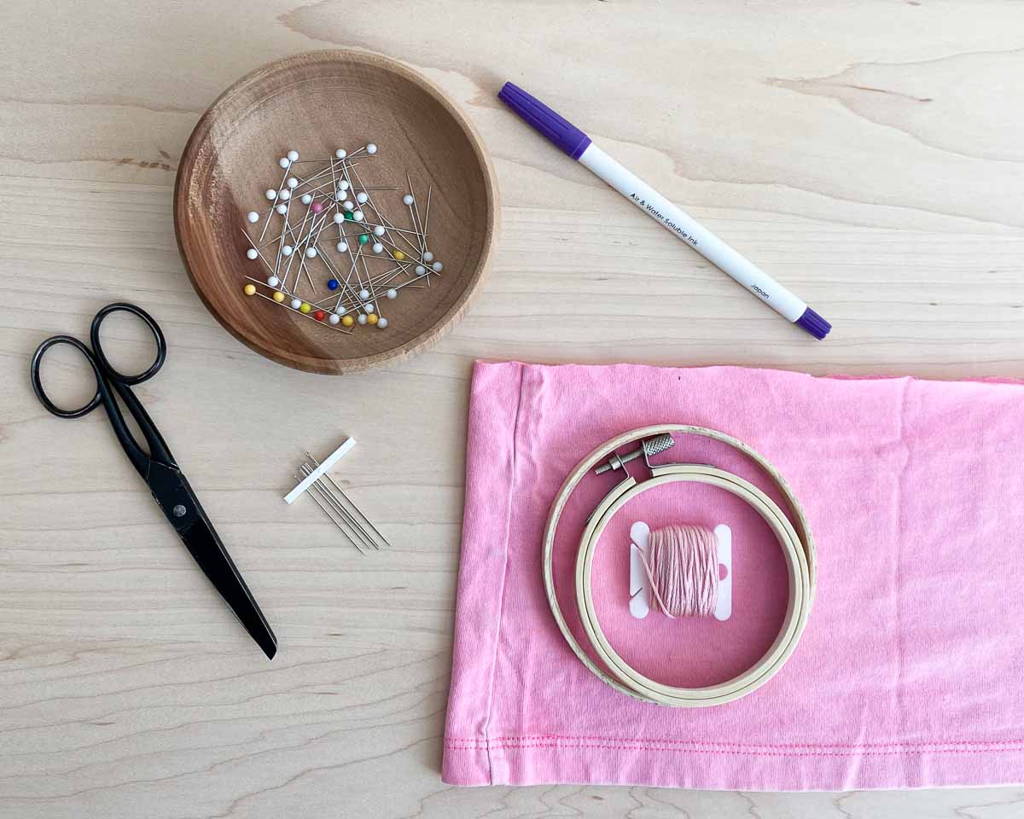
No mend is the same, so give yourself some room to experiment. Here are the basics:
1. A needle and thread: for most mends, you will want something sharp, thin, and not too long. Use thread that fits the project. I normally use one or two strands of embroidery floss for kids leggings to keep it colorful and accessible. Normally there are six strands in embroidery floss, so I gently separate them.
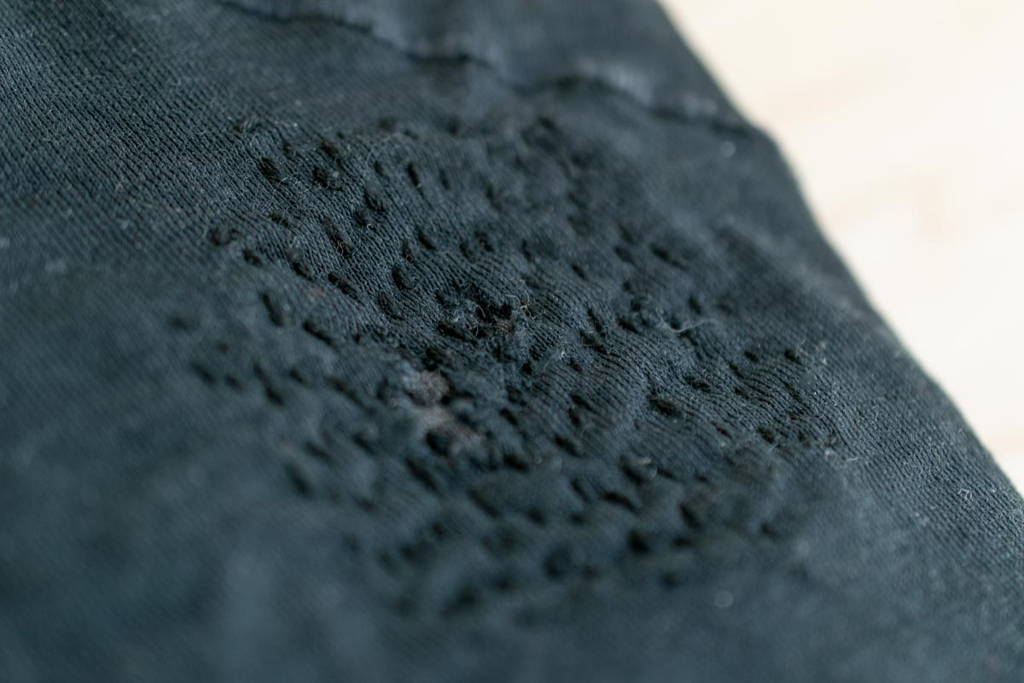
2. A patch : The patch should be at least twice the size of the hole so it spreads out the tension of the hole. Think of it working like a snowshoe to spread the weight of your body over the snow. Use a patch that is similar in weight, material content, and stretch to the garment you are patching. For children's leggings, which are a 'knit' not a 'woven' textile, you'll want to use something that is similar to t-shirt material that is a little stretchy.
3. Some push pins or needles to hold it in place
4. A mini embroidery hoop
5. Disappearing ink pen or chalk
6. Scissors
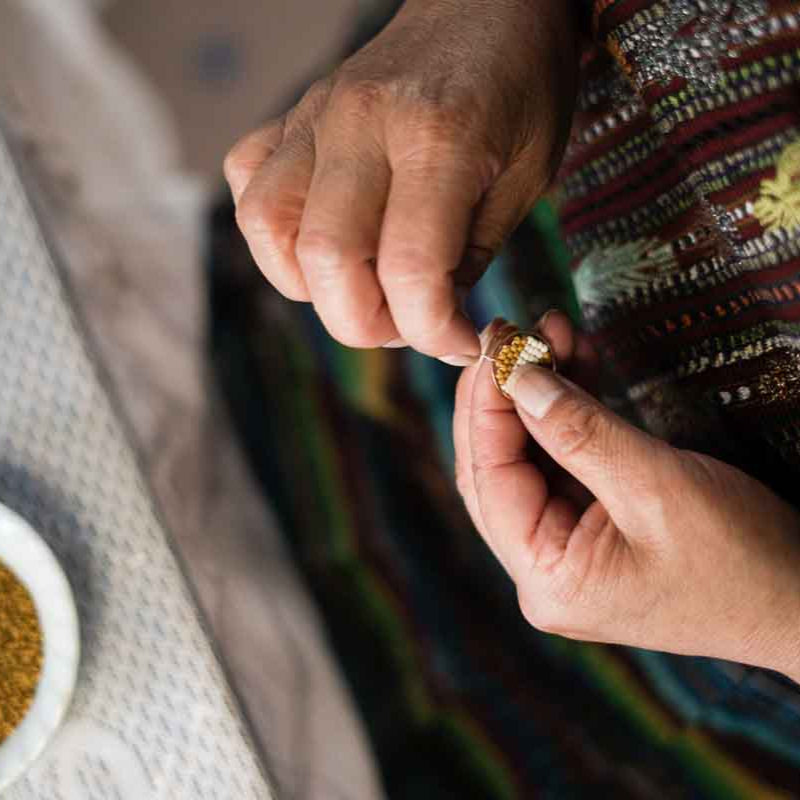
We recommend purchasing mending supplies from Fibr & Cloth, a woman-owned shop
2. Attach your patch
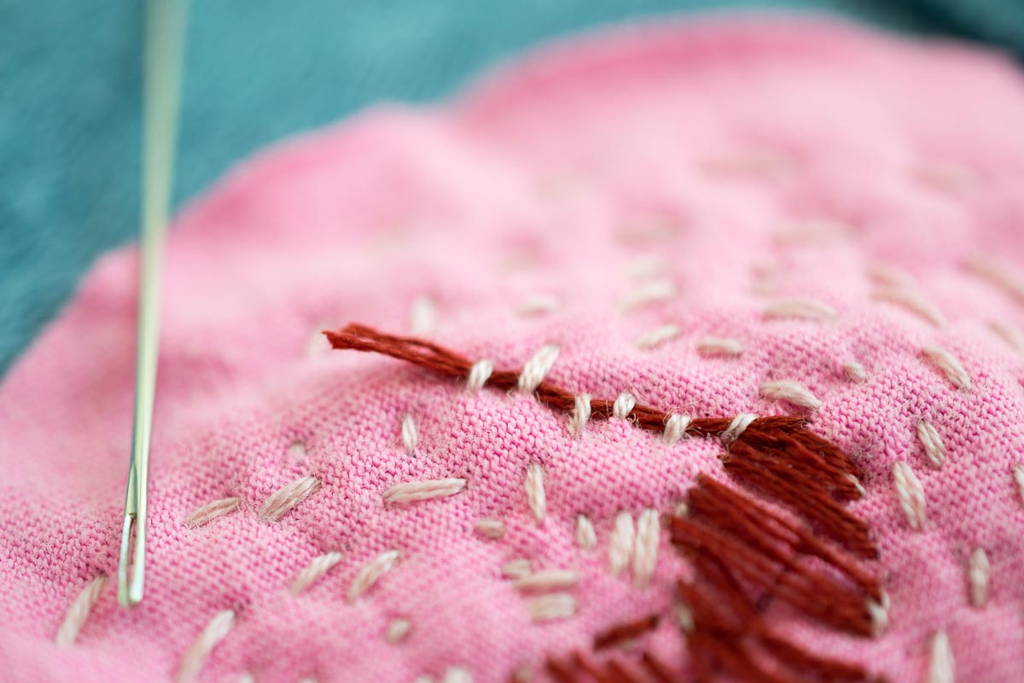
Put your patch behind the hole, and pin in place. I like to use a mini embroidery hoop to stabilize the area as I hand stitch, but be very careful not to stretch the fabric as you secure it in place especially if you are patching something stretchy like these jeggings. Children are really sensitive to tiny knots on the inside of their clothes so do not make any knots as you begin your thread. Instead, leave a 3" tail and weave it after you are all finished. You can scroll down to step 4 to see photos of this.
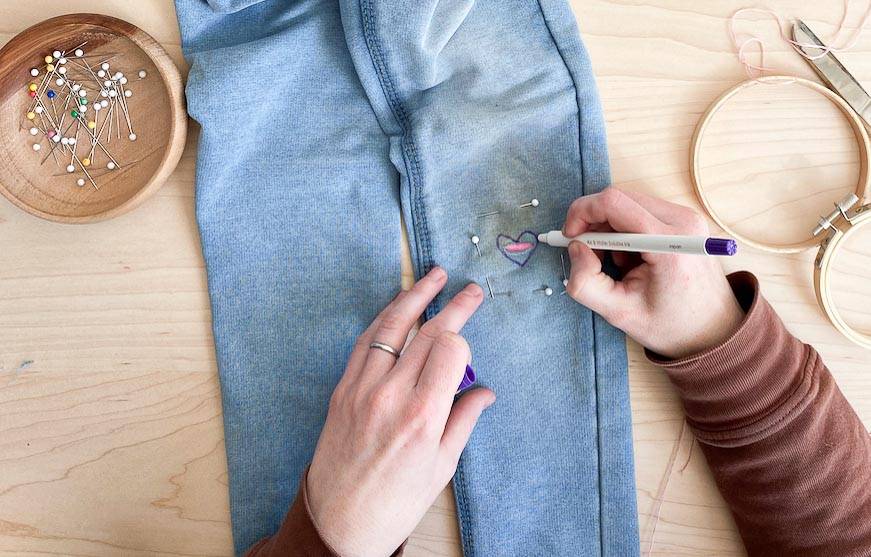
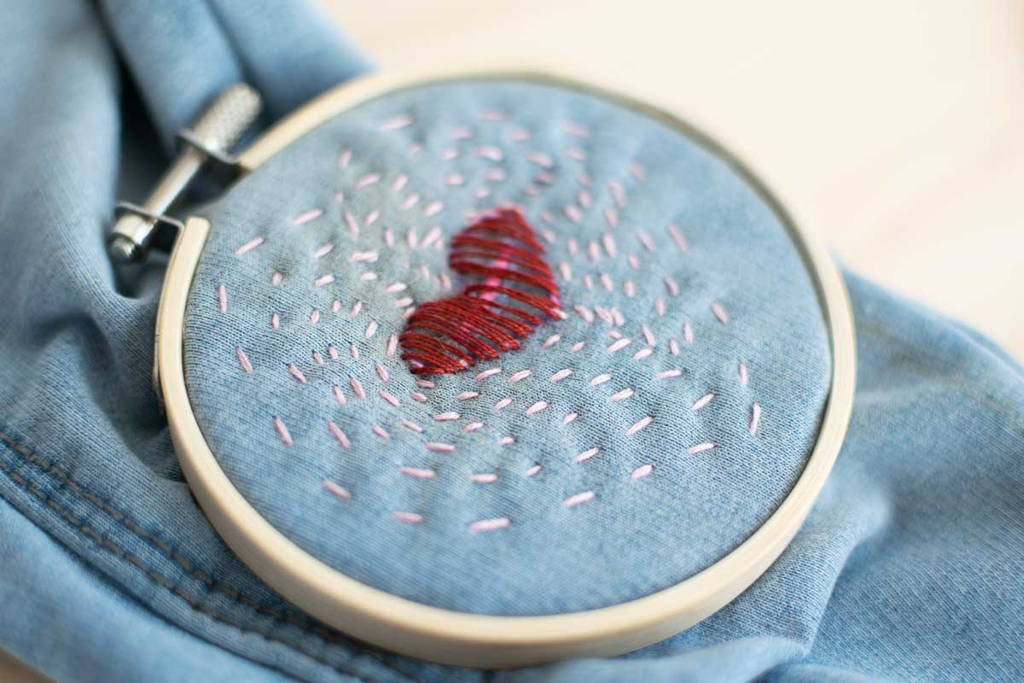
I was patching these leggings for my daughter's Valentine's gift, so I did my visible mending in the shape of a heart. I marked the first one with an invisible ink marker, and then free-handed the following concentric hearts.
3. Create a mini weave
Using the outline of the inner heart, make a warp. These are the vertical threads in a loom. Take your needle out from the bottom and in from the top. Try to keep them parallel and evenly spaced. For my heart, I started in the middle and worked my way to the right. Then I came back and worked my way to the left.
Now you'll make your weft. These are the horizontal threads in a loom that go over and under the warp.
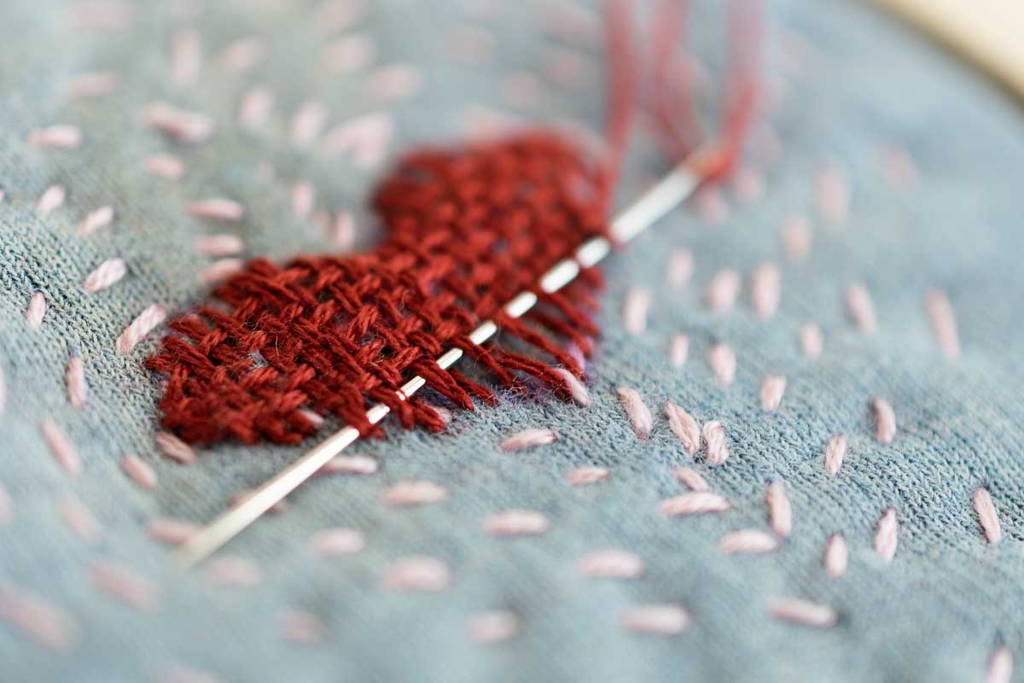
For my heart, I started at the fattest part and worked my way down. Then I finished the upper right and left curves. Just do your best. You'll get better with each patch you do!
4. Weave in the tails
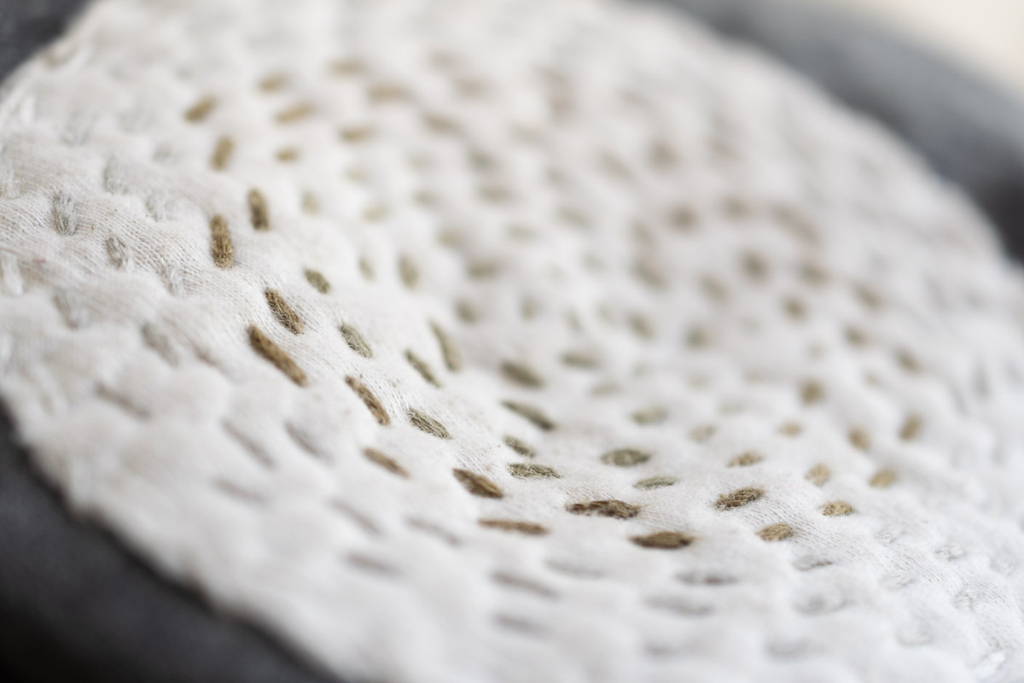
Here is a before and after of the backside when it is all finished. When weaving, do not use little knots to start the thread because this will be bulky and rub against your skin. Instead, leave a little tail and then weave it in to your stitches. Finally, carefully trim the patch.
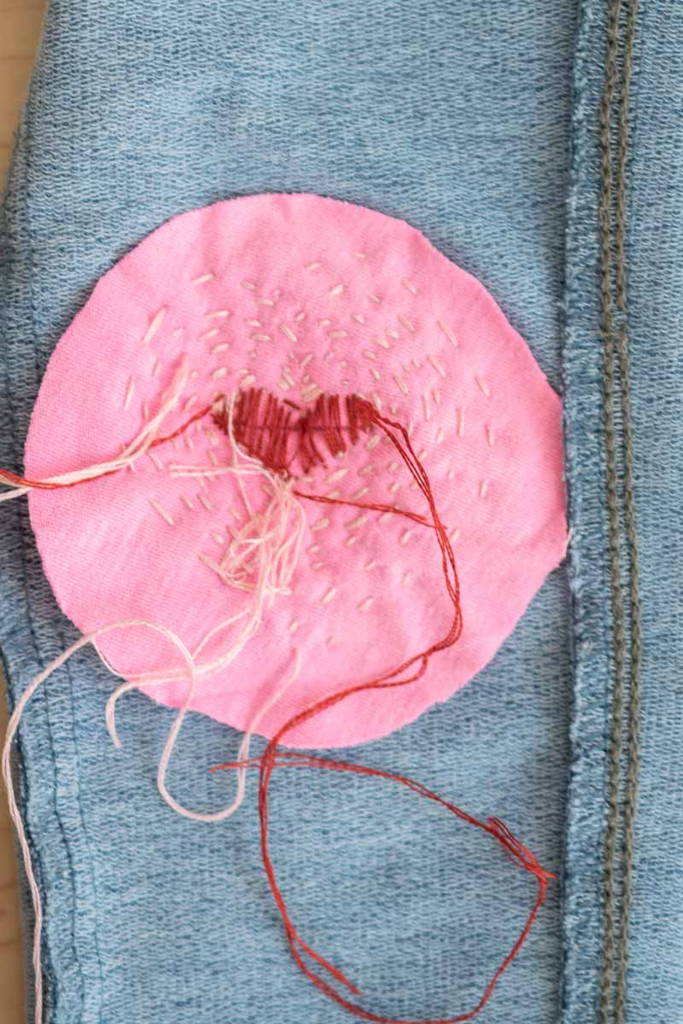

Here is a closeup of weaving in the tails. It's a little tedious, but makes a big difference with wearability and longevity of your patch. It's like the polish :)
For the other knee, I put the patch on top of the jeans and stitched it in place.

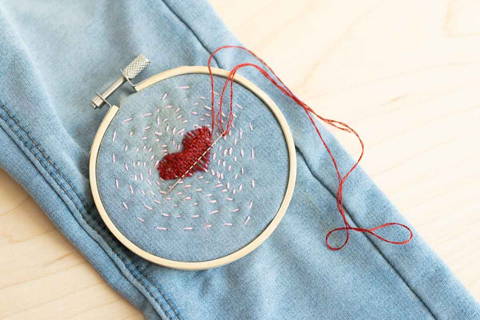
Experiment with putting the patch over or under the hole, try different shapes, and use varying thread colors. To change colors, end your current thread color by pulling it through to the back, rethread with a new color, and pull it up from the back. Remember to leave a 3" tail for weaving in at the end.
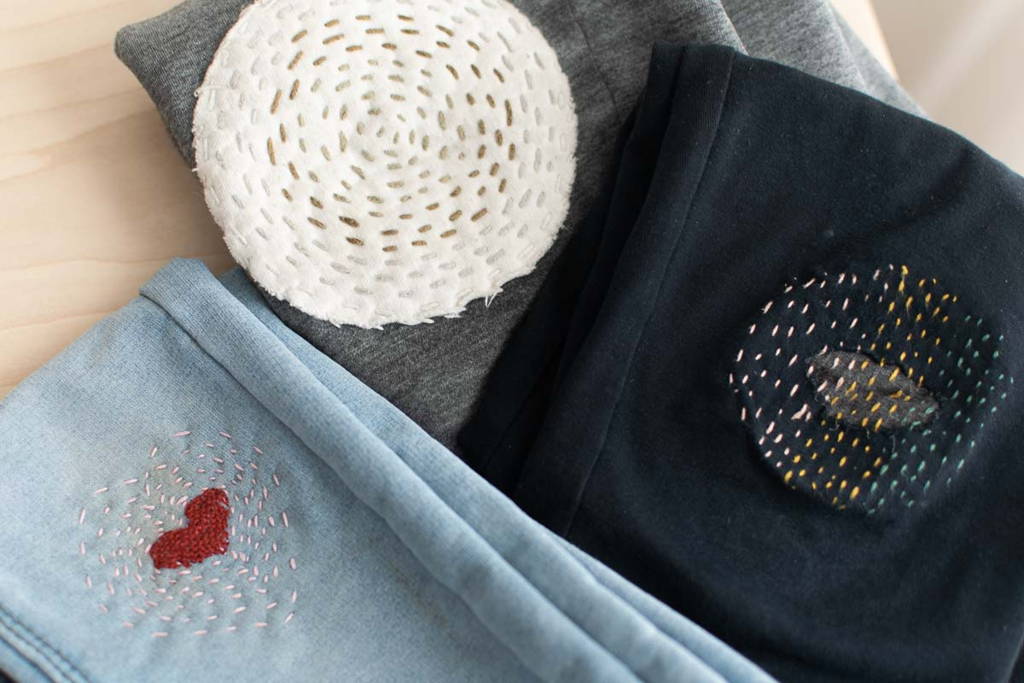
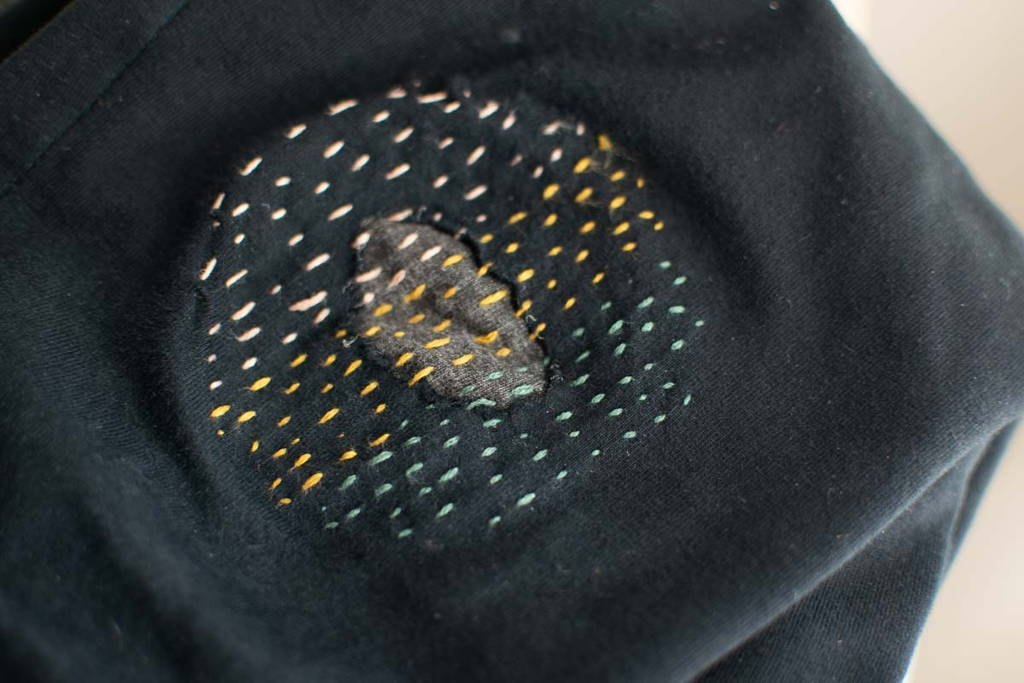
If you want the mend to be more subtle, put the patch in the back and use a coordinating thread color.
Follow @fairandsimple
#madebywomenpatterns
-
The Made by Women Patterns are part of an initiative to involve women with the process of garment making as a way to be mindful of our purchasing practices in the fashion industry. Behind every seam is a person, most likely a woman. Sewing a simple garment is a tactile way of understanding the effort that goes into the clothes we wear and our responsibility to respect the human and material output with each piece.
Join Our Newsletter
A conversation about who makes your goods and
how you can positively impact women through trade.
Fair Trading | Simple Living